Unboxing and First Impressions
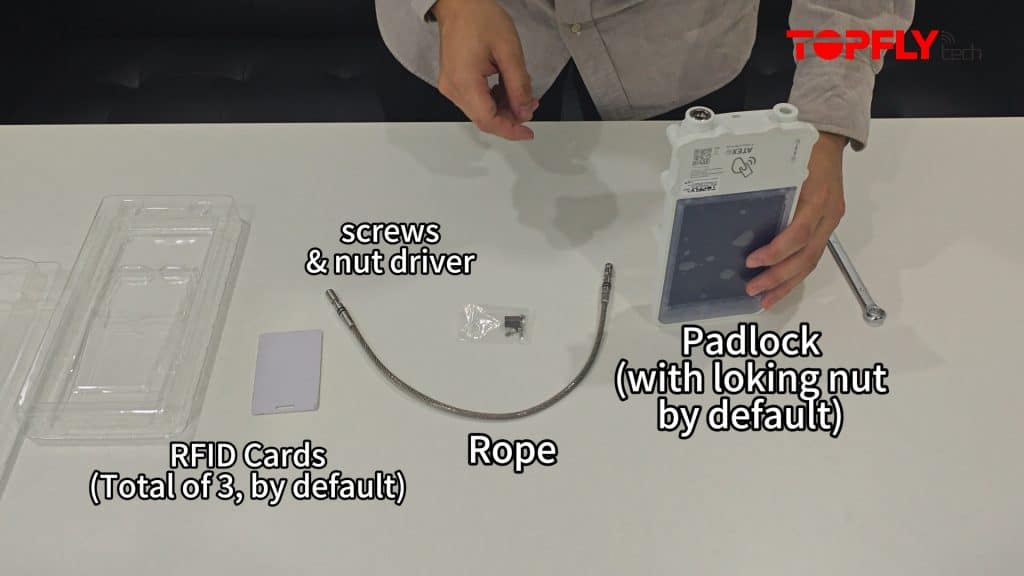
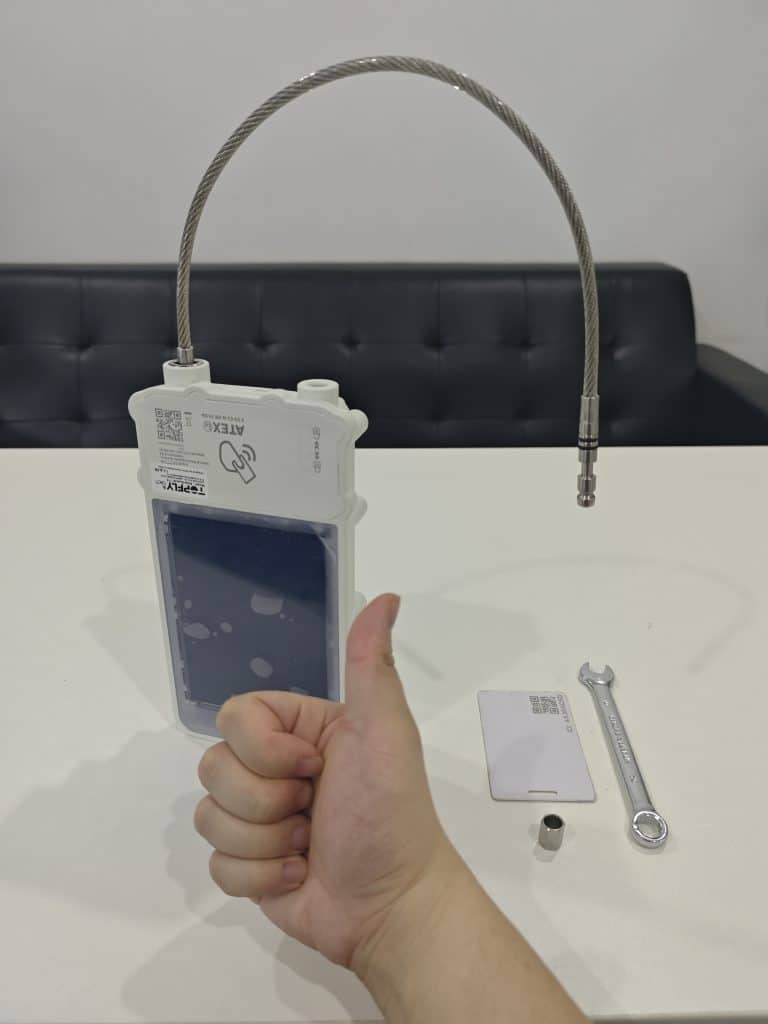
So, you’ve just received your brand-new SolarGuardX 110, and you’re excited to set it up. You open the box, and inside, you find:
- A padlock (with the locking nut pre-installed)
- A locking rope
- Three RFID cards (default package)
- A pack of screws for mounting
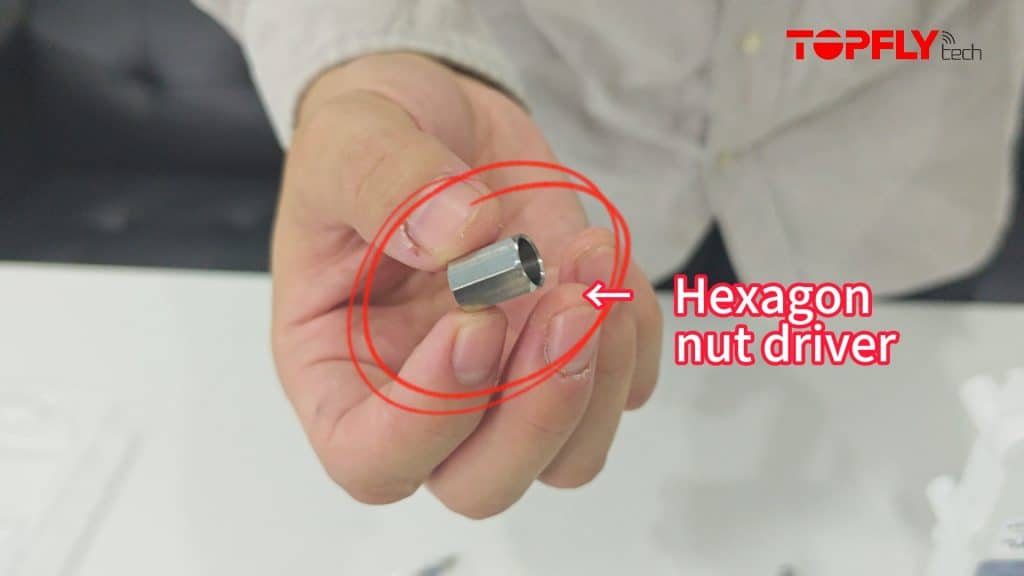
- A hexagon-shaped nut driver (looks like a small metal barrel)
Now, you might be wondering—how do you get this all working? Don’t worry; we’ve got you covered! Follow this simple guide to preset your SolarGuardX 110 in just a few steps.
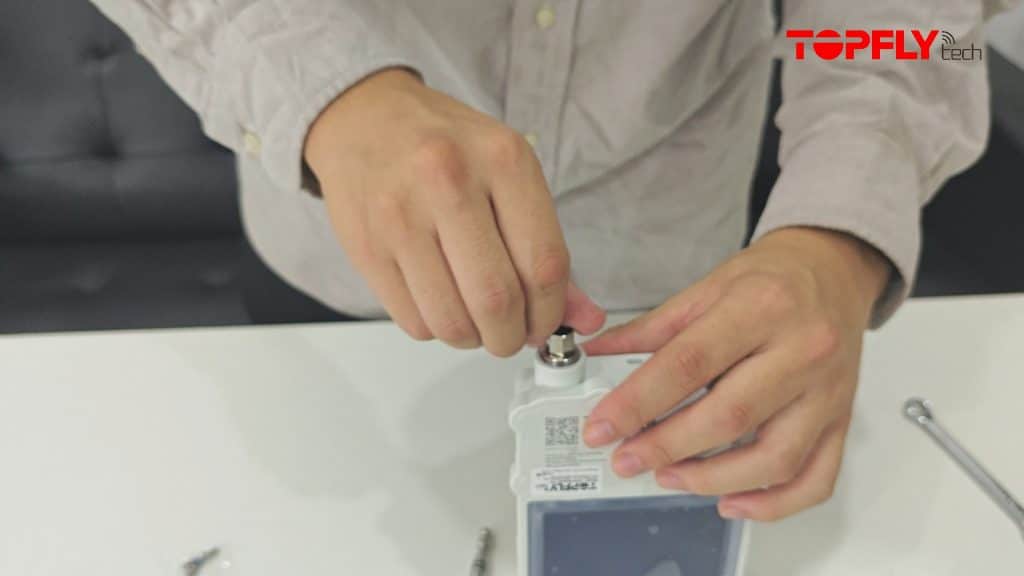
Step 1: Unscrewing the Locking Nut
Take out the included hexagon nut driver and insert it into the socket of the locking nut.
You can unscrew it manually or use a wrench for convenience. Once removed, set it aside for the next step.
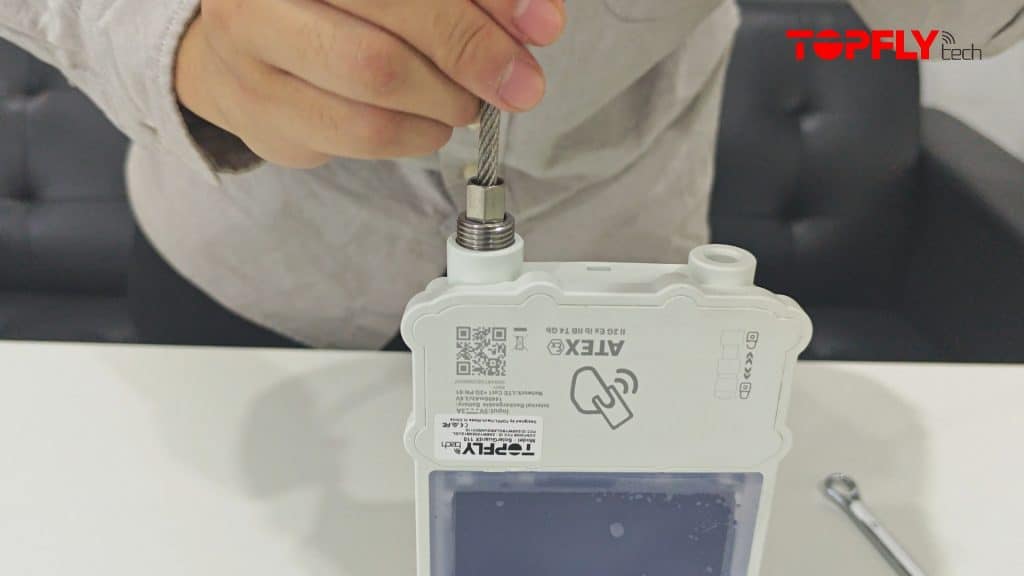
Step 2: Inserting the Locking Rope and Nut
Secure one side of the locking rope to the terminal for easier management. When inserting the locking nut, ensure the socket side faces outward.
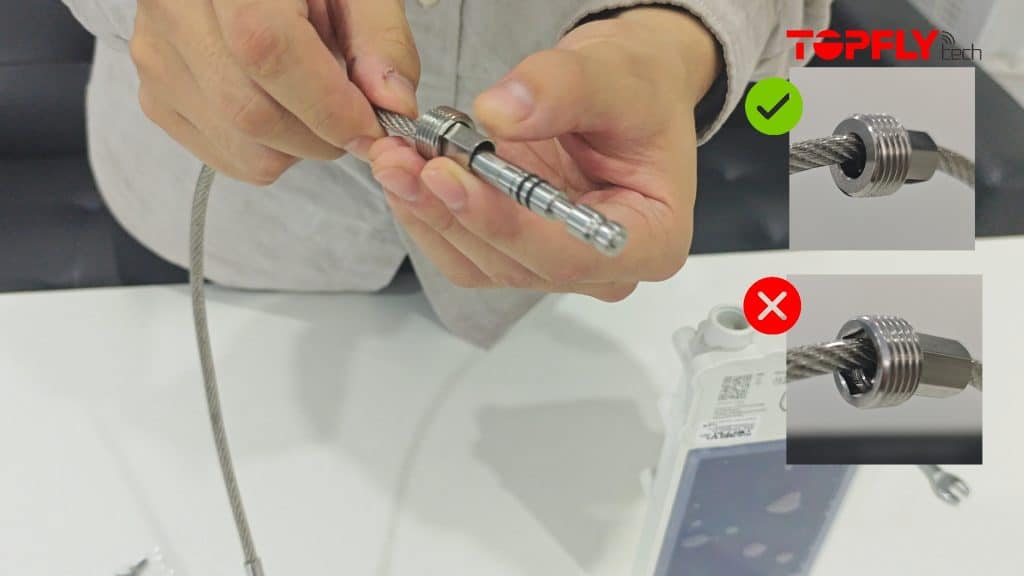
Carefully insert the rope into the corresponding port on the SolarGuardX 110 padlock, making sure it aligns correctly.

Once inserted, use the nut driver to secure the locking nut back in place.
Step 3: Double-Checking Everything
Before finalizing the setup, double-check that:
- The rope is fully inserted into the padlock socket.
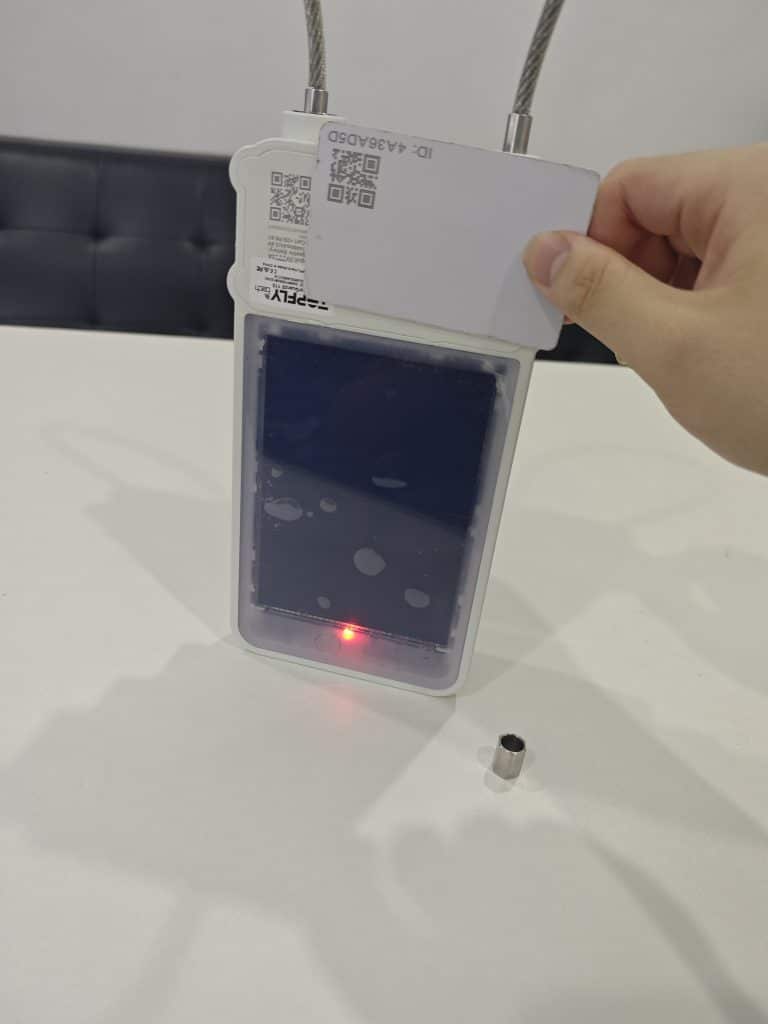
- The lock engages and releases smoothly when using the RFID card.
If everything looks good, you’re all set!
Conclusion: Security Made Simple with SolarGuardX
Congratulations! Your SolarGuardX 110 is now ready to use. Whether you’re securing valuable assets or enhancing your security system, this RFID-enabled padlock offers a seamless and reliable locking solution. If you have any issues during the setup, refer back to this guide or consult the manual.
For more insights, tips, and product updates, stay tuned to our blog and Linkedin! Need extra security accessories? Check out our full range of locking solutions to maximize your protection on Youtube.
To learn more about the product spotlight of SolarGuardX, you may browse the product page via our official website.